Zoos are one of the best places to practice animal photography. You get access to species you’d rarely encounter in the wild, you can experiment with different lenses and settings, and you can shoot year‑round regardless of weather. But zoo environments also come with challenges: fences, glass, artificial backgrounds, harsh light, and crowds that make it difficult to create natural‑looking images.
Many photographers walk away frustrated, convinced that “you just can’t get good photos at a zoo.” The truth is, you can — consistently — if you understand how to work around the environment. With the right techniques, you can create images that look like they were made in the wild, not in a public facility.
This guide covers the core methods I use to eliminate distractions and produce clean, natural animal images at the zoo. These techniques work whether you’re shooting big cats, reptiles, primates, or birds, and they’re especially useful in facilities with older or more restrictive habitats.
Eliminating Man‑Made Distractions
The biggest challenge in zoo photography is removing visible human‑made elements from the frame. Fences, mesh, glass, signage, and artificial rocks can all break the illusion of a natural scene. My goal is always the same: create an image where the animal feels like the sole focus.
Below are the techniques that make that possible.
1. Shooting Through Fences
Fences are everywhere in zoo habitats, but they don’t have to ruin your shot. With the right approach, you can make them disappear.
How to Remove Fences from Your Photos
- Use a wide aperture (f/2.8–f/5.6 depending on your lens).
- Get close to the fence, but stay safe and avoid stressing the animal.
- Position the animal far behind the fence so the mesh falls out of focus.
- Focus on the animal’s eyes — the fence will blur into nothing.
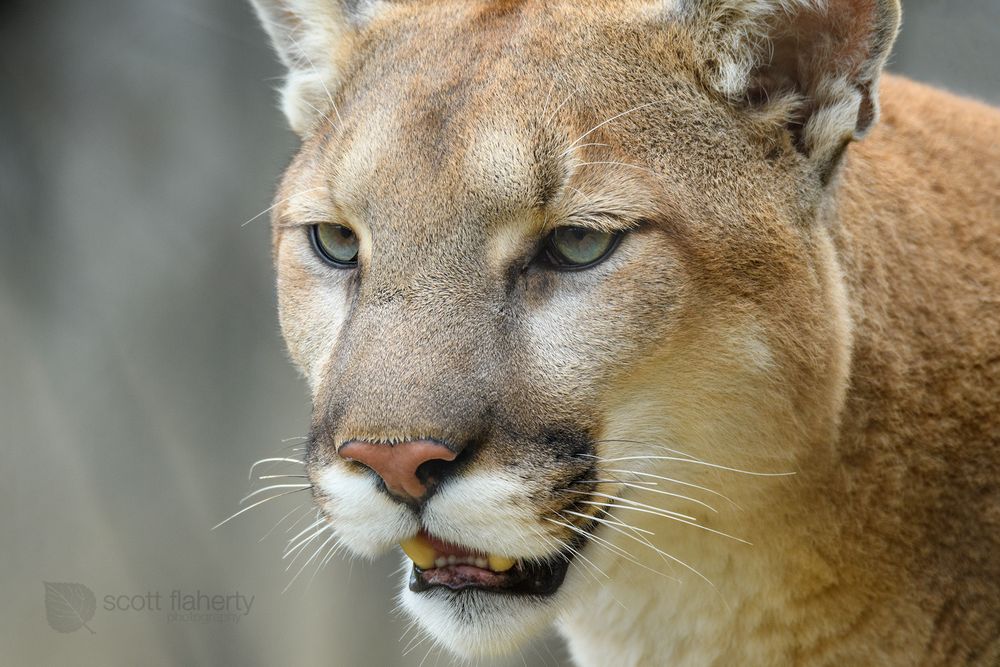
This is how I created the Mountain Lion photo shown below. The enclosure was fully fenced, yet the fence is invisible thanks to shallow depth of field and careful positioning.
This technique works for chain‑link, mesh, and even thicker fencing as long as the animal is far enough behind it.
2. Shooting Through Glass
Glass is another common barrier, especially in reptile houses, small carnivore exhibits, and indoor habitats. It introduces reflections, glare, fingerprints, and distortion — but you can control most of that.
How to Get Clean Images Through Glass
- Place your lens hood directly against the glass.
- Wrap your hand around the hood to block stray light.
- Shoot perpendicular to the glass to avoid distortion.
- Wait for moments when the animal moves away from the glass.
- Avoid shooting through scratches or smudges when possible.
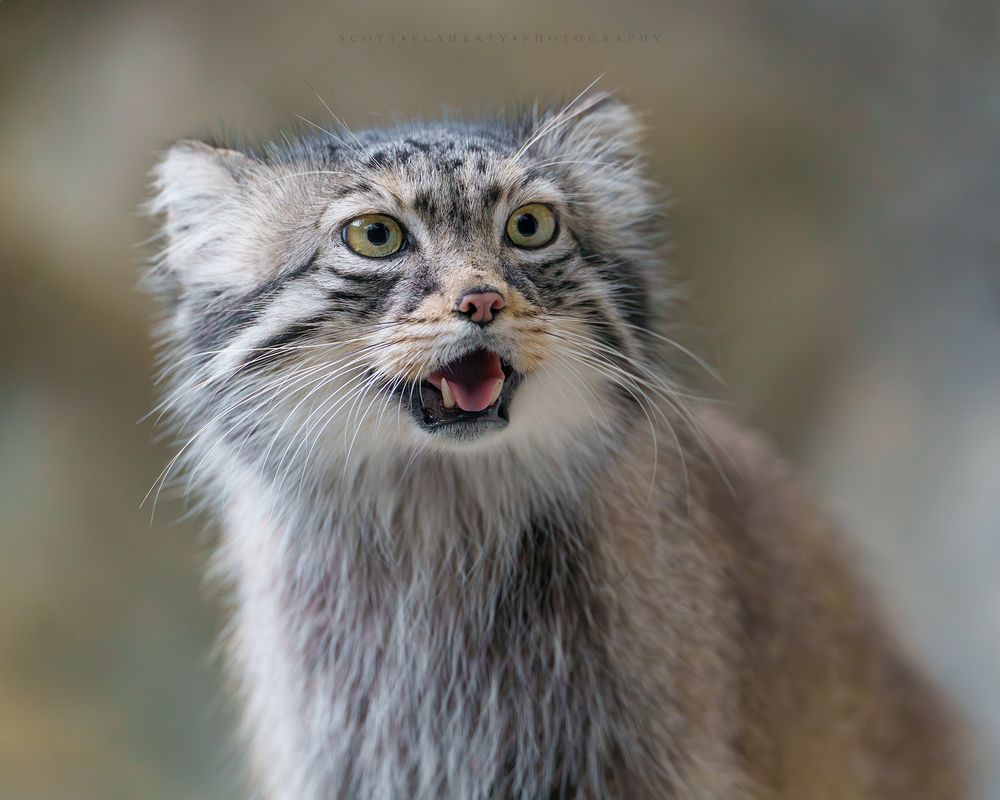
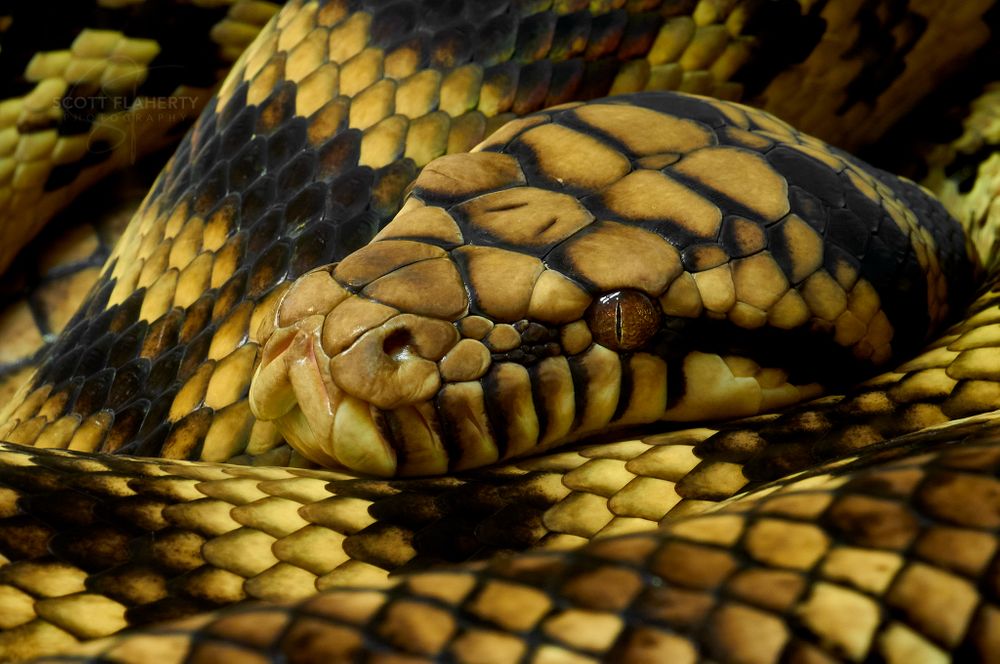
If the glass is reasonably clean and you’re tight to it, you can produce surprisingly crisp images. The Scrub Python and Pallas’s Cat photos below were both made through glass enclosures using this approach.
3. Using Longer Focal Lengths to Tighten the Frame
Sometimes the best way to eliminate distractions is simply to shoot tighter. Longer focal lengths let you isolate the subject and crop out man‑made elements.
Why Long Lenses Help
- You can frame tighter head-shots or upper‑body portraits.
- Background distractions fall out of the frame.
- You can shoot from farther away, reducing reflections and glare.
- You can wait for moments when the animal moves into cleaner habitat zones.
This is especially useful with larger animals, where photographing the entire body often means including fences, barriers, or artificial backgrounds.
4. Work With the Habitat, Not Against It
Every zoo is different. Some habitats are beautifully designed and easy to photograph; others require more creativity.
What to Look For
- Natural backdrops like trees, rocks, or shaded areas.
- Elevated vantage points that hide barriers.
- Corners where the habitat looks more natural.
- Angles that minimize artificial elements.
A small shift in position — sometimes just a few feet — can dramatically improve the background and eliminate unwanted objects.
5. Patience Pays Off
Zoo photography is a waiting game. Animals move, light changes, crowds shift. If you wait for the right moment, you’ll often get a cleaner shot without needing to fight the environment.
Patience is often the difference between a snapshot and a portfolio‑worthy image.
Examples from the Columbus Zoo and Aquarium
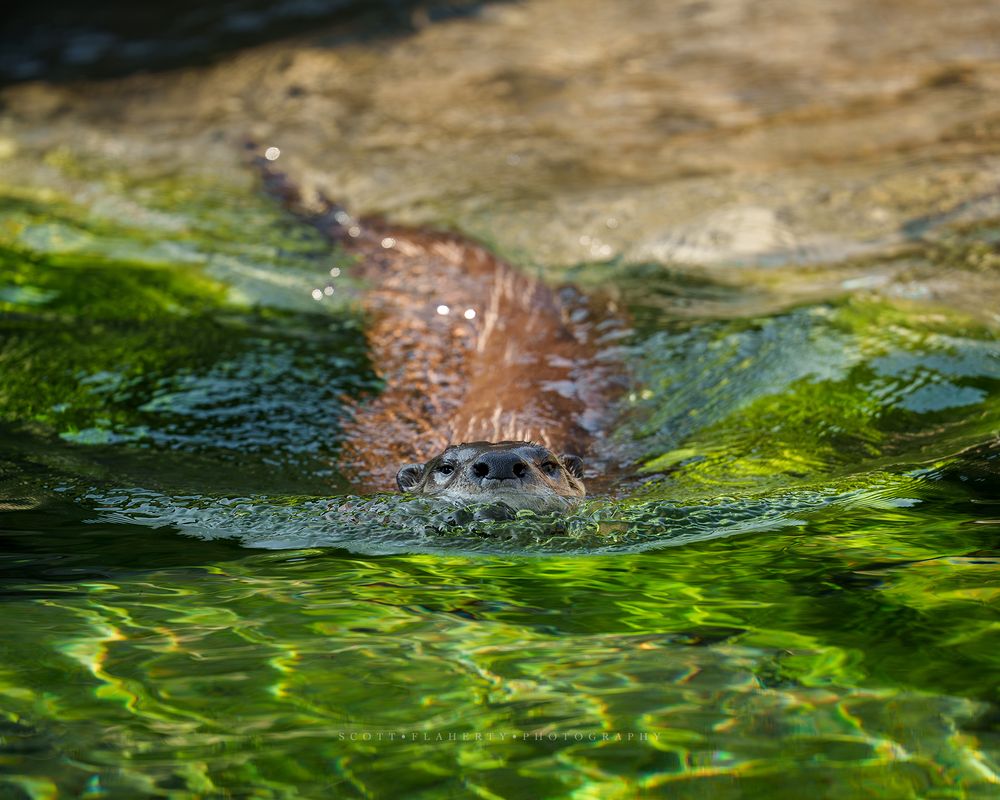
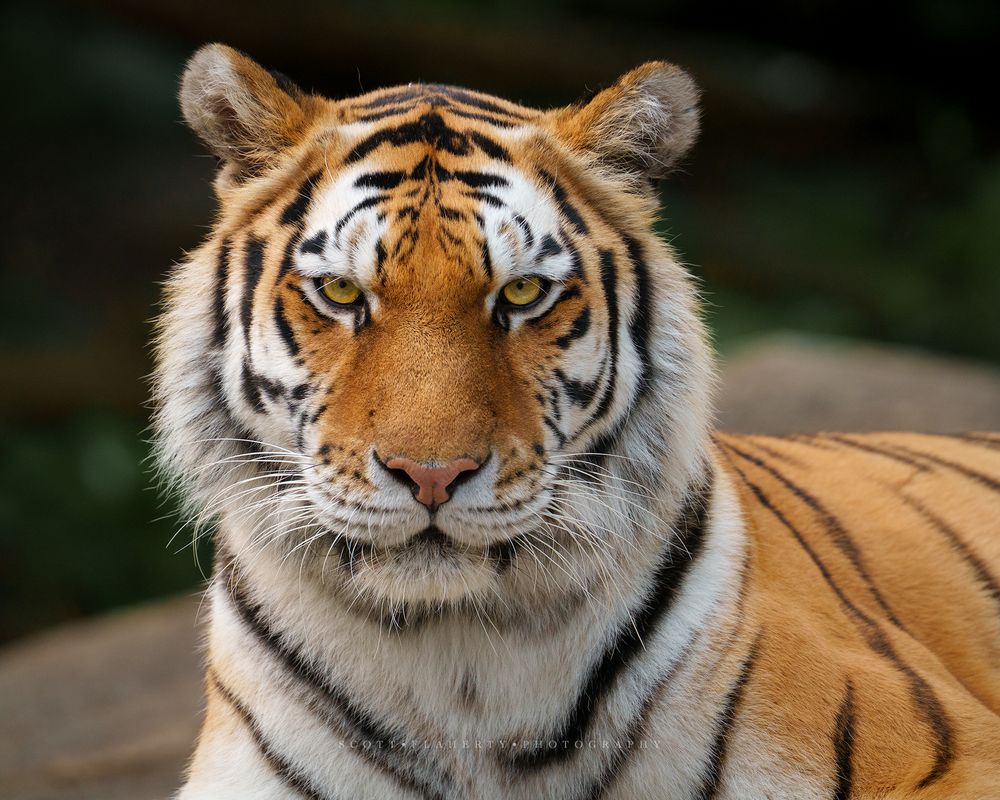
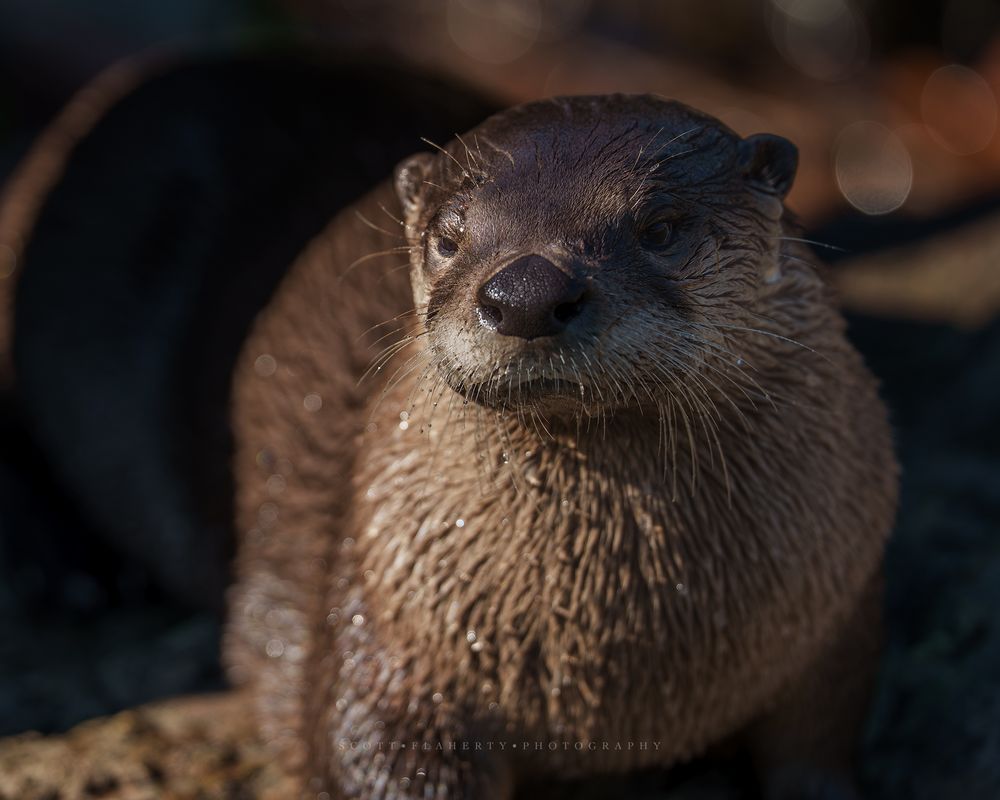
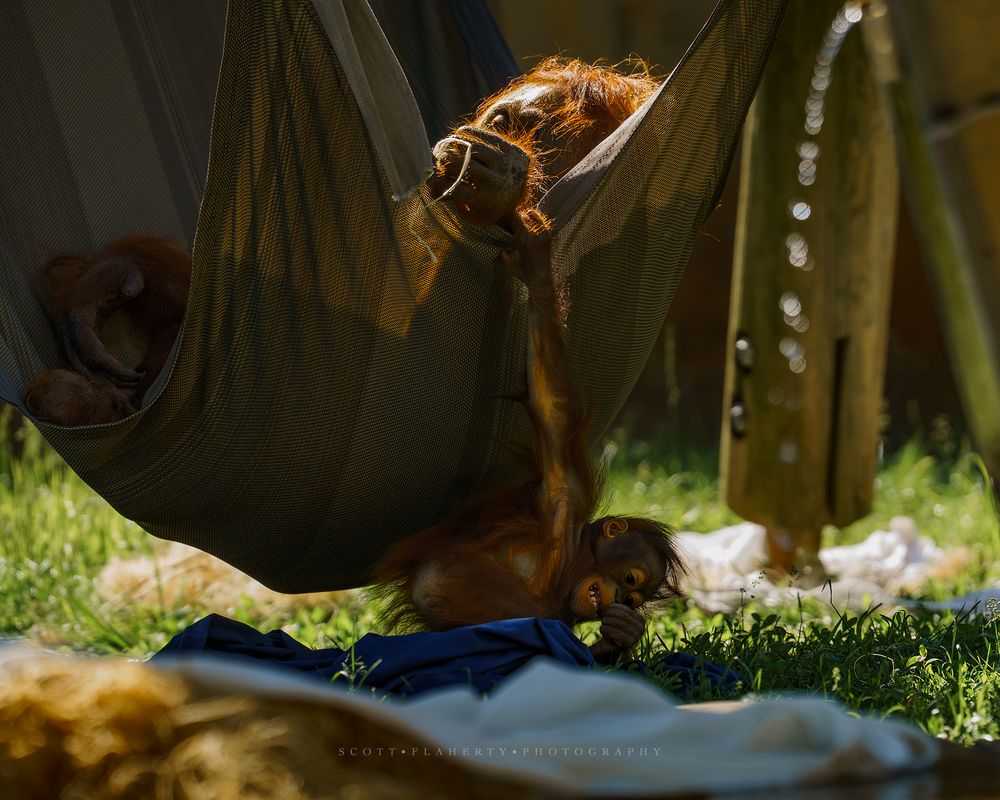
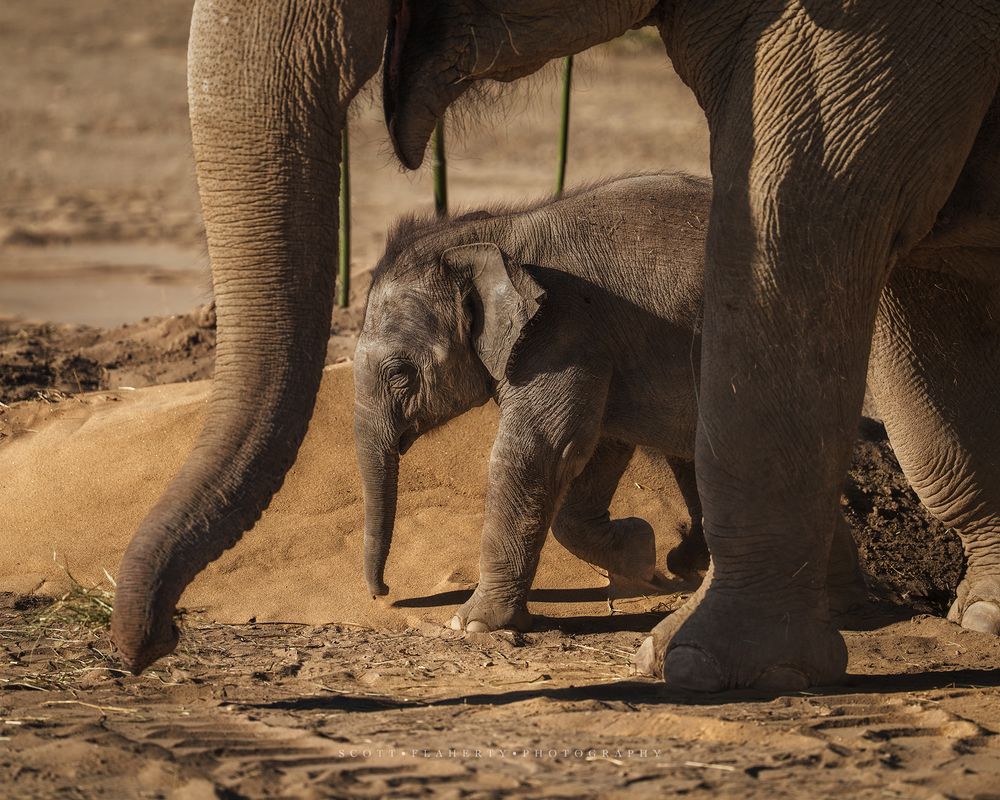
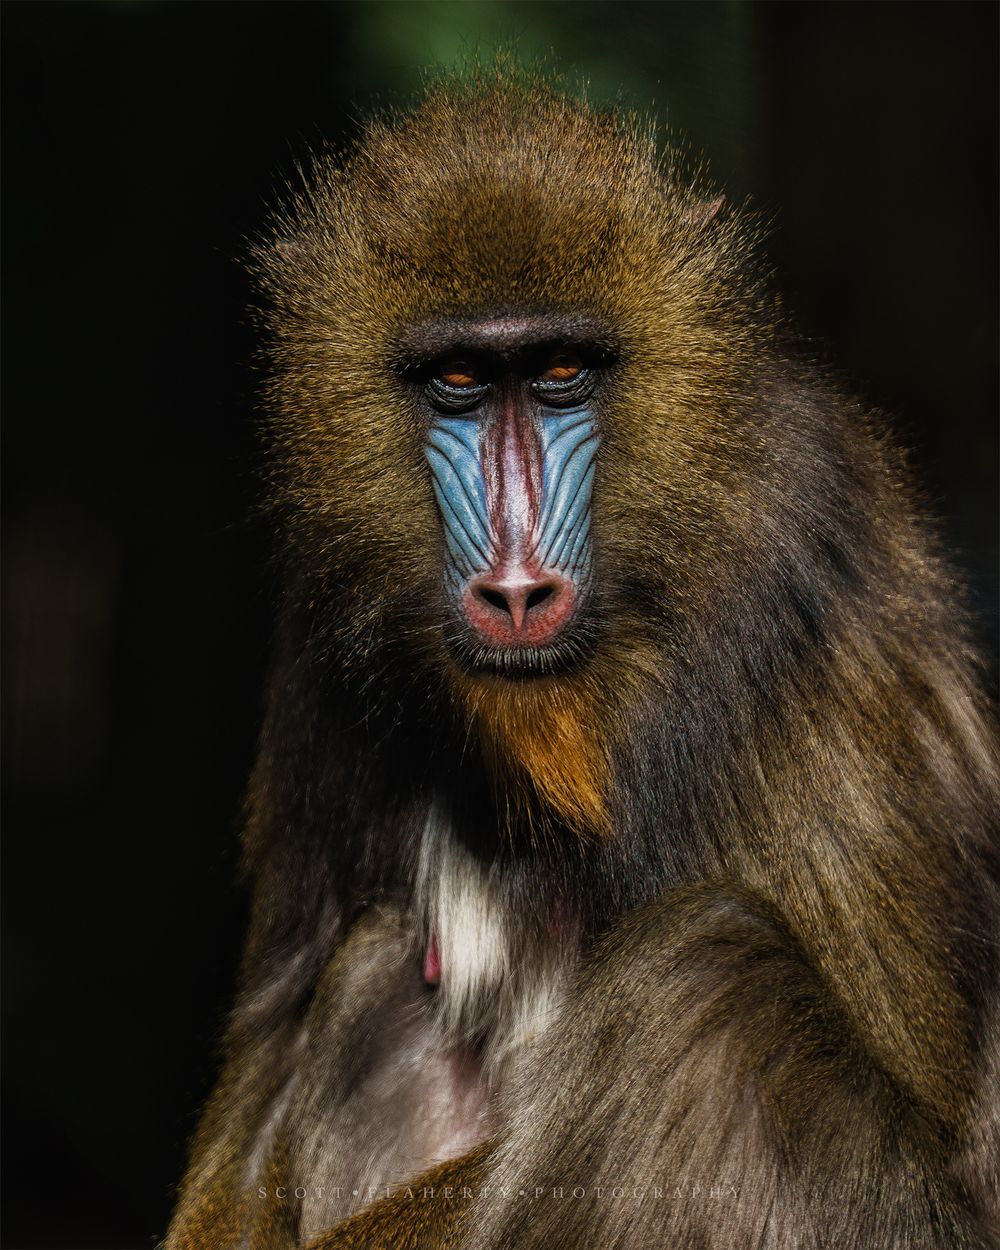
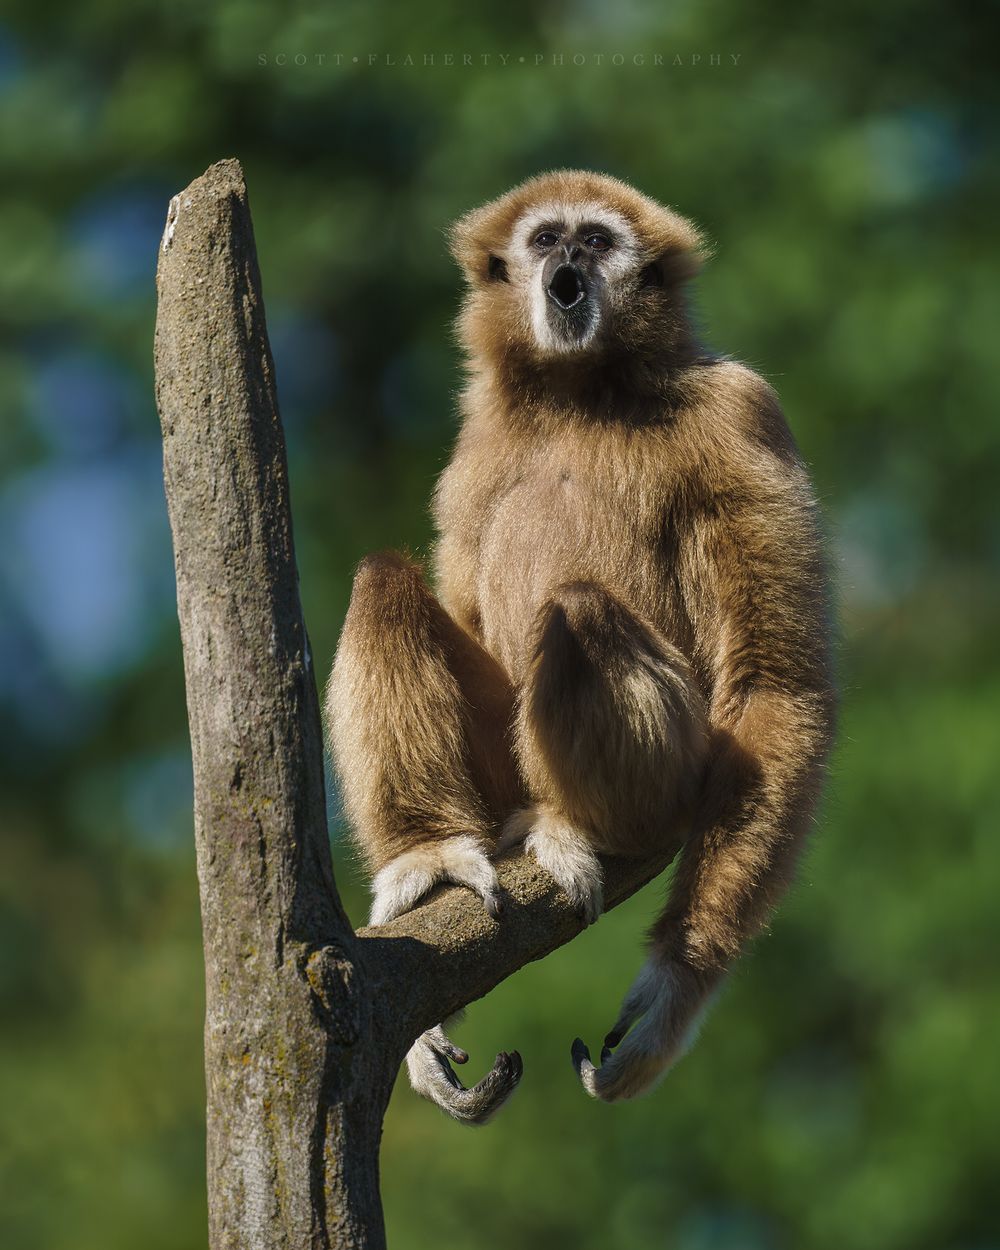
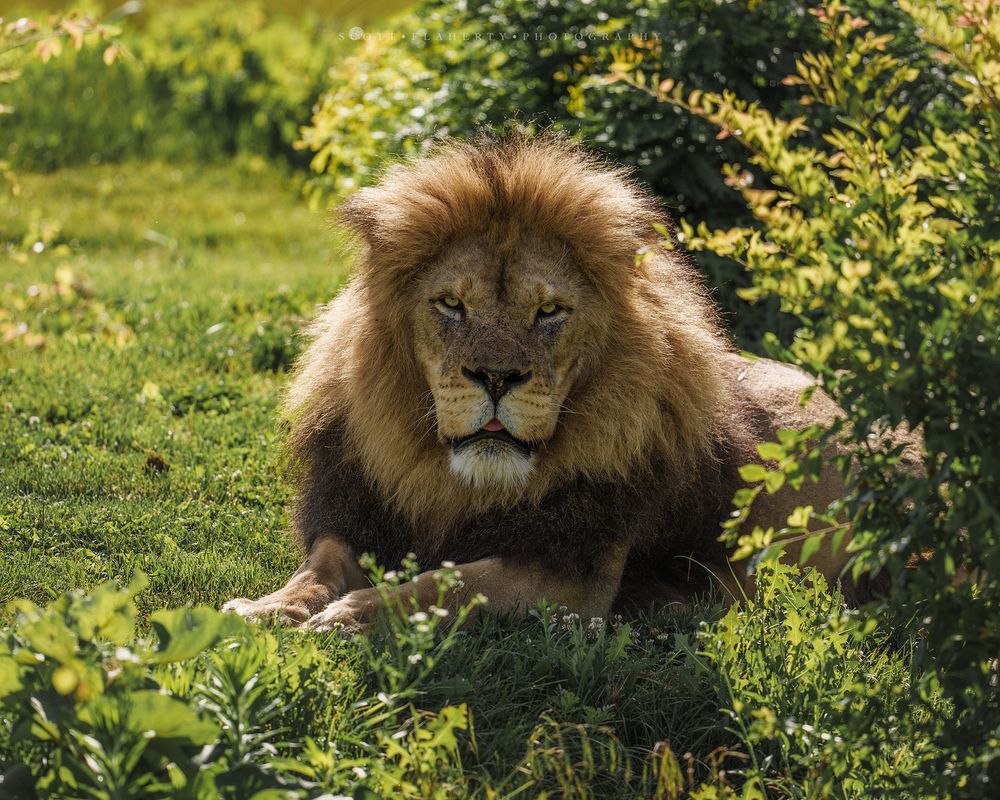
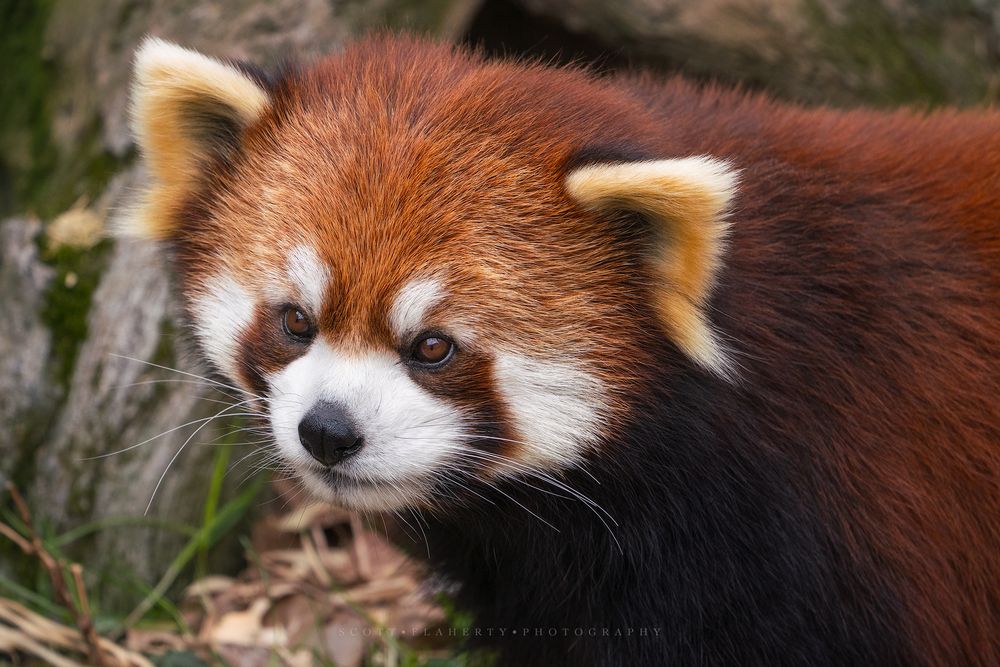
Below are a few images from recent trips to the Columbus Zoo in Ohio, each created using the techniques above. They demonstrate how fences, glass, and busy environments can be managed to produce natural‑looking animal portraits.